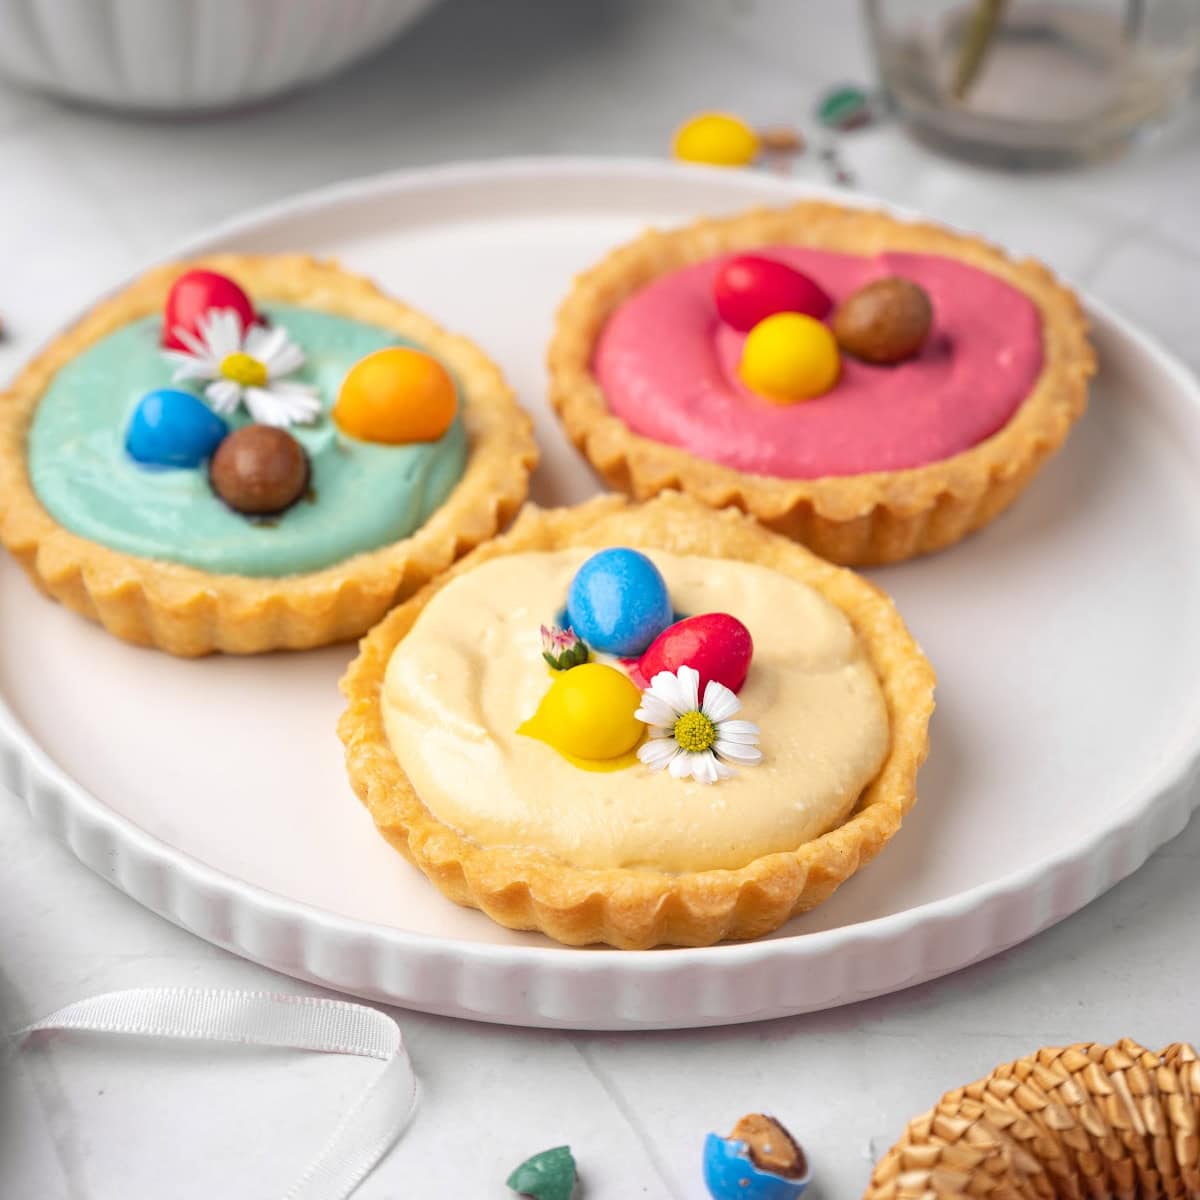
Mini Springtime Cheesecake Tarts
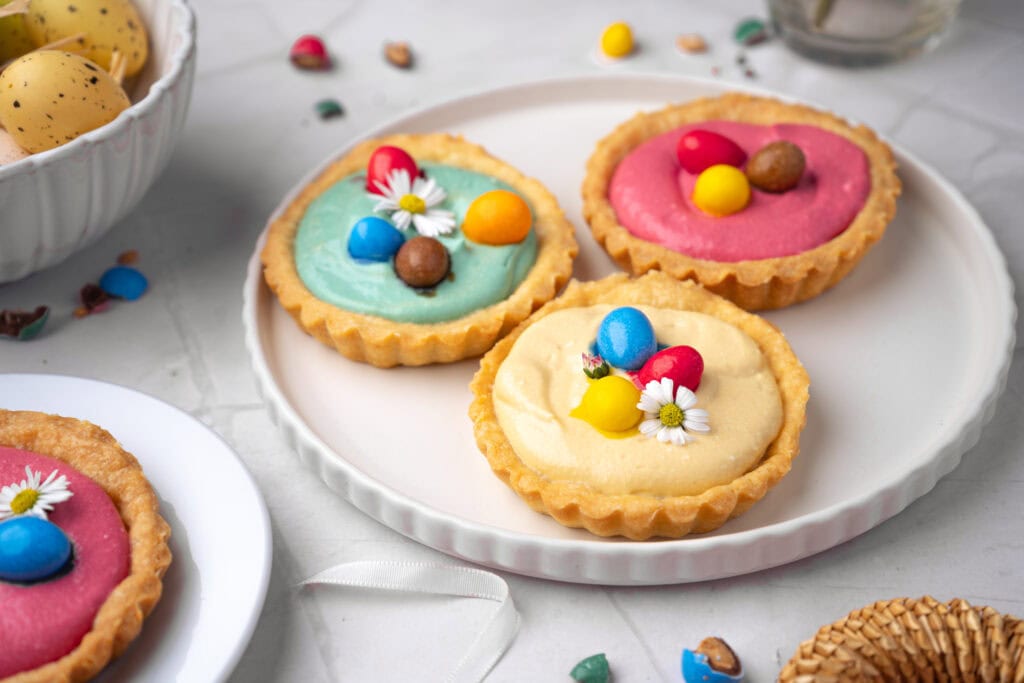
These Mini Springtime Cheesecake Tarts are easy spring dessert tarts made with buttery, sweet short pastry shells and a smooth, creamy cheesecake-style filling with a hint of lemon.
WANT TO SAVE THIS FOR LATER?
It’s a perfect make-ahead dessert for Easter brunches, spring gatherings, afternoon tea, or a family dessert table. You can make the shells ahead of time, then fill and chill them before serving.
If you are baking for the spring season, these Easter Bunny M&M Cookies and Easter M&M Blondies are a perfect addition to your list.
How to Make Mini Springtime Cheesecake Tarts
Ingredients you’ll need for the sweet short pastry shell
Ingredients you’ll need for the cheesecake-style filling:
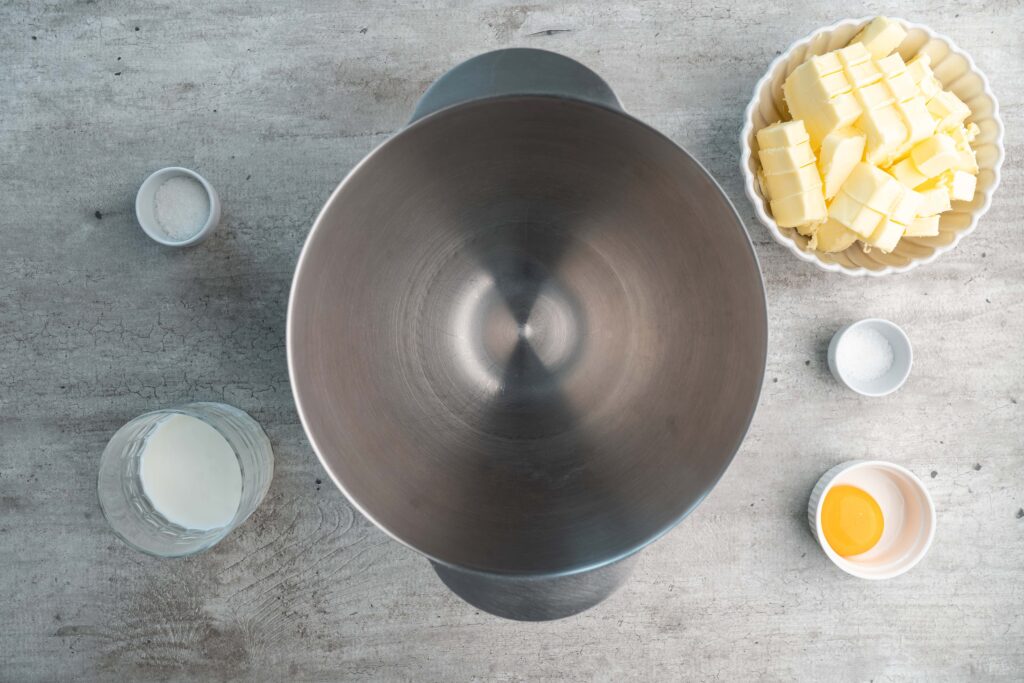
Step-by-Step Guide
1. In a large mixing bowl (or food processor), combine the softened butter, salt, egg yolk, sugar, and milk. Mix until smooth and creamy.
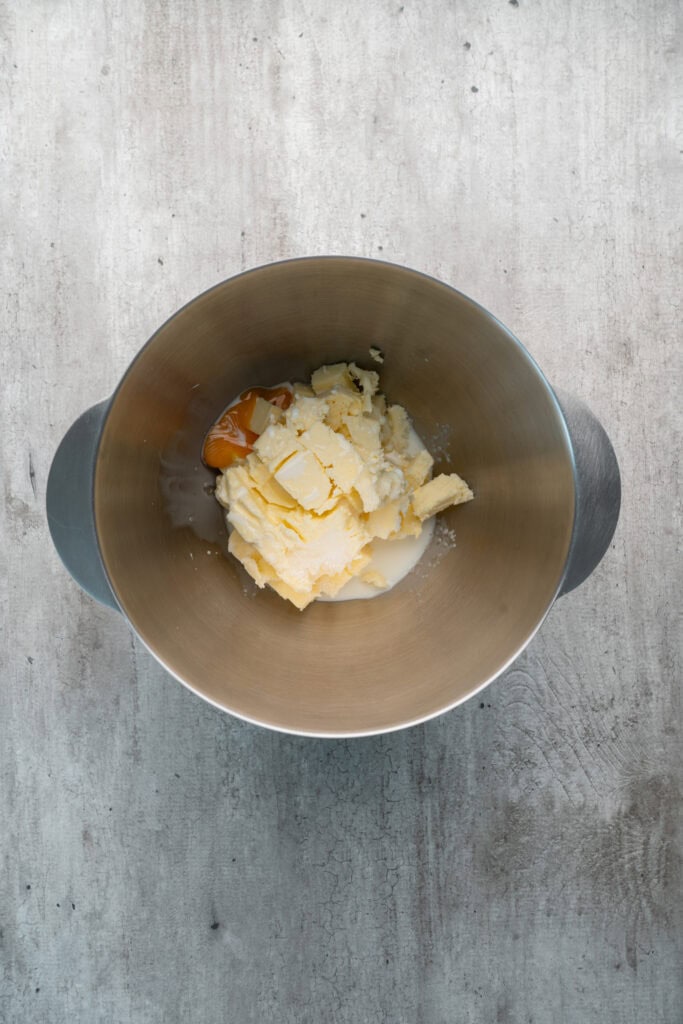
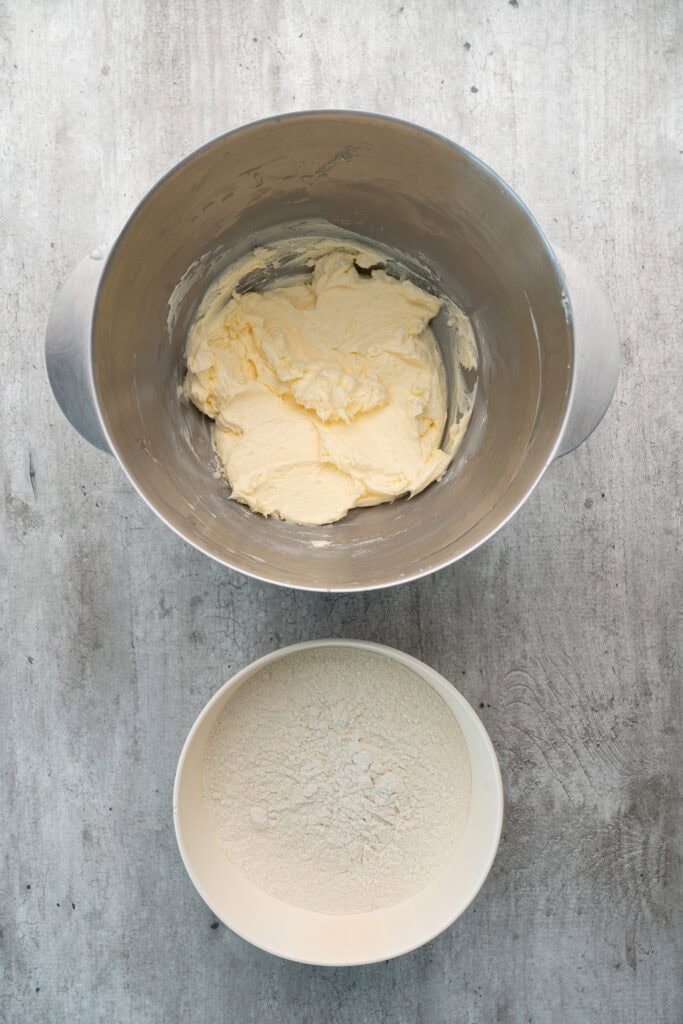
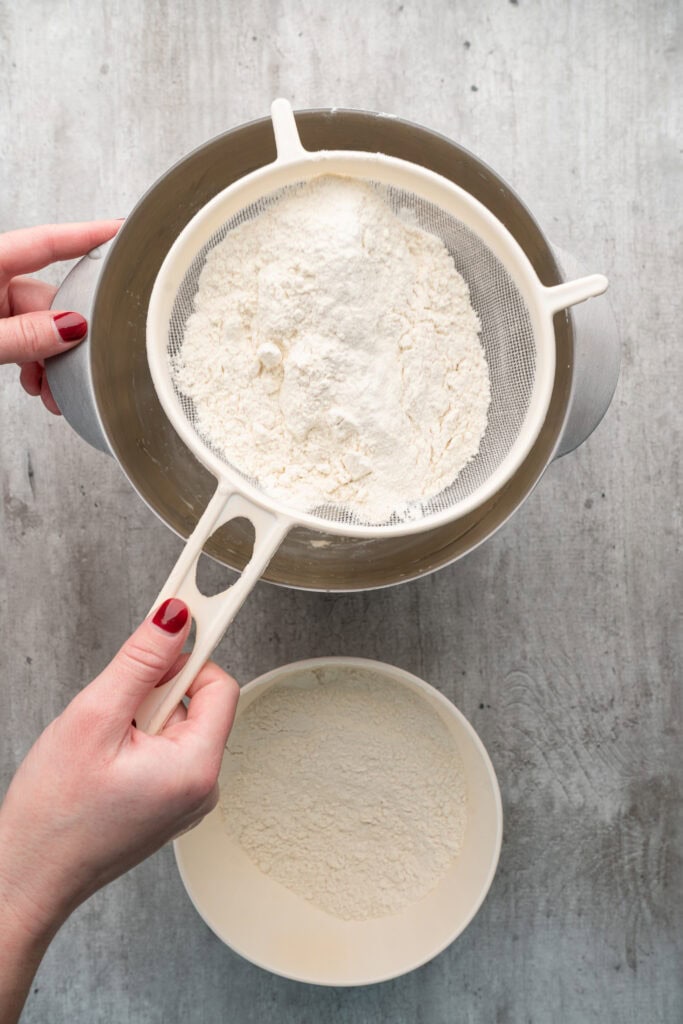
2. Sift the flour and gradually add it into the butter mixture, mixing just until the dough begins to come together in a ball. (If using a food processor: pulse until the dough just forms a ball.)
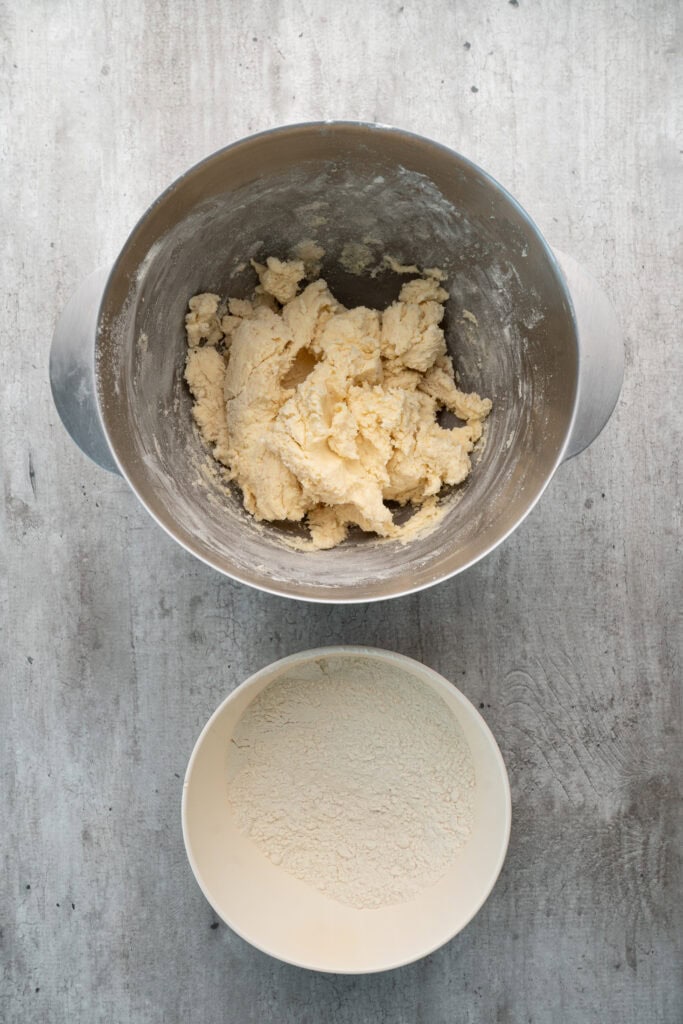
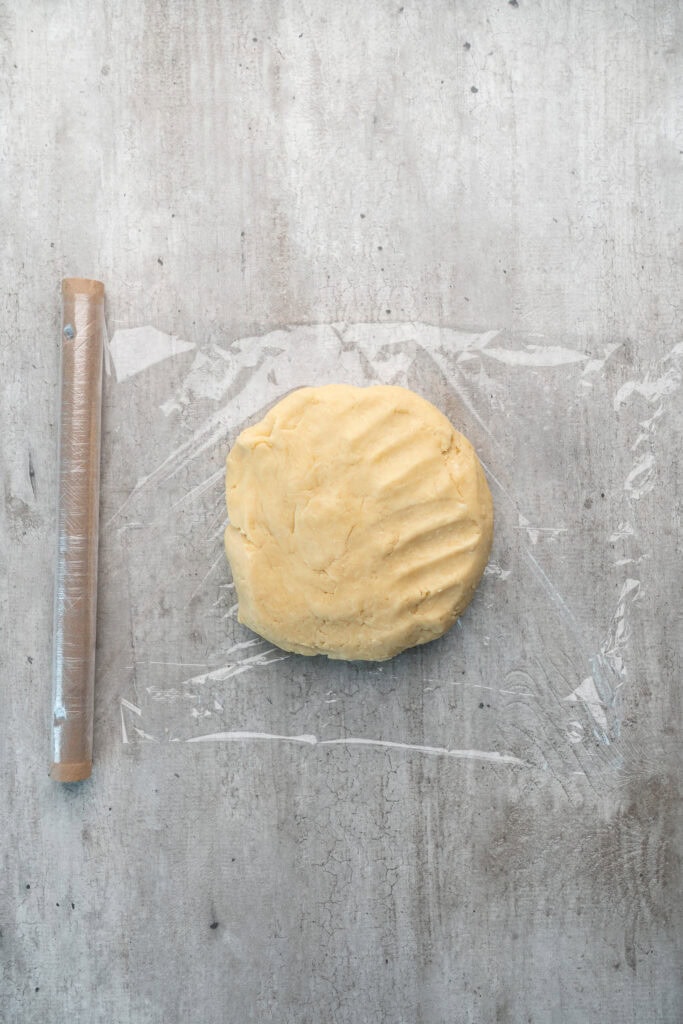
3. Turn the dough out onto a lightly floured surface and gently knead for a minute or two until it’s uniform. Flatten into a disk, wrap tightly in plastic wrap, and chill in the fridge for at least 2 hours.
4. Preheat your oven to 350 °F / 180 °C. Generously butter eight 4-inch tart pans.
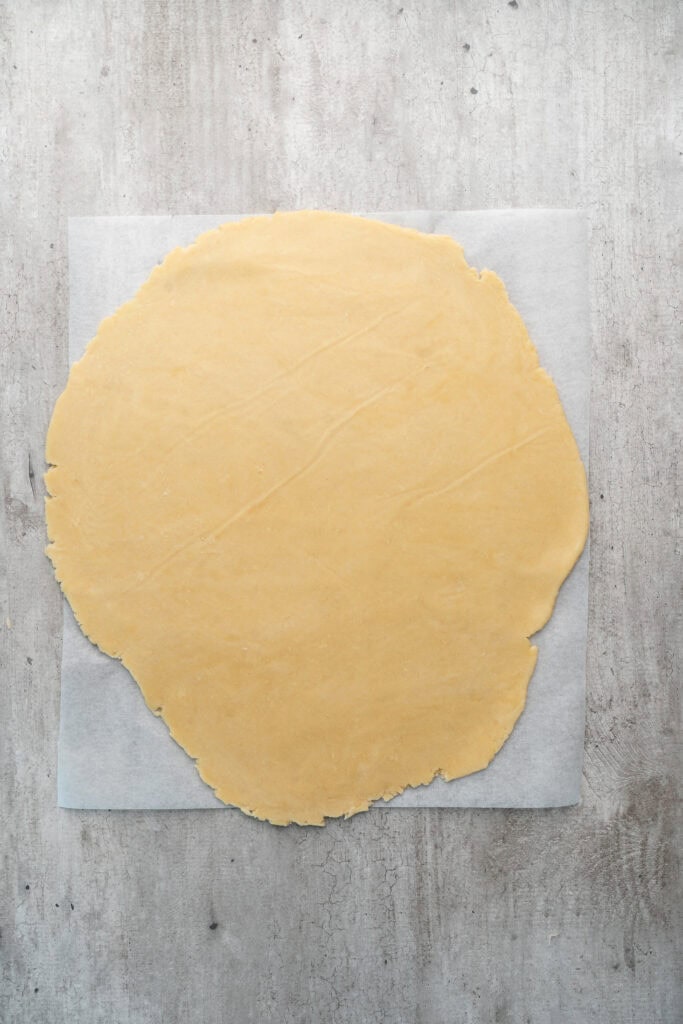
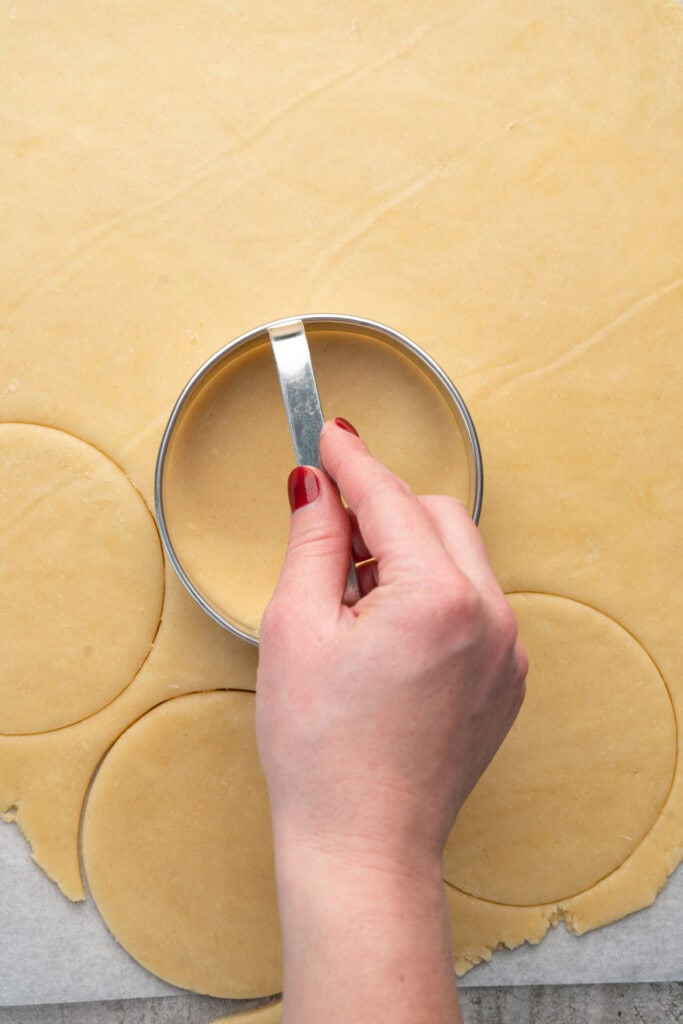
5. On a lightly floured surface, roll the dough out (ideally between two sheets of parchment) to about ¼-inch (≈6 mm) thickness. Cut circles slightly larger than the tart pan rims and gently press the dough into each pan, trimming off any excess.
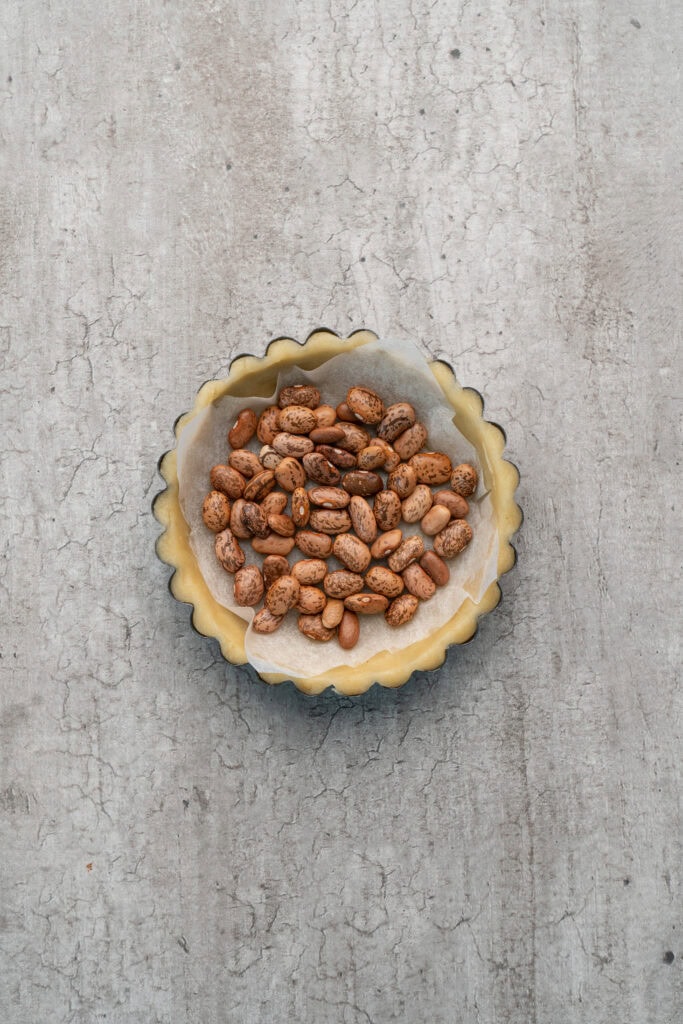
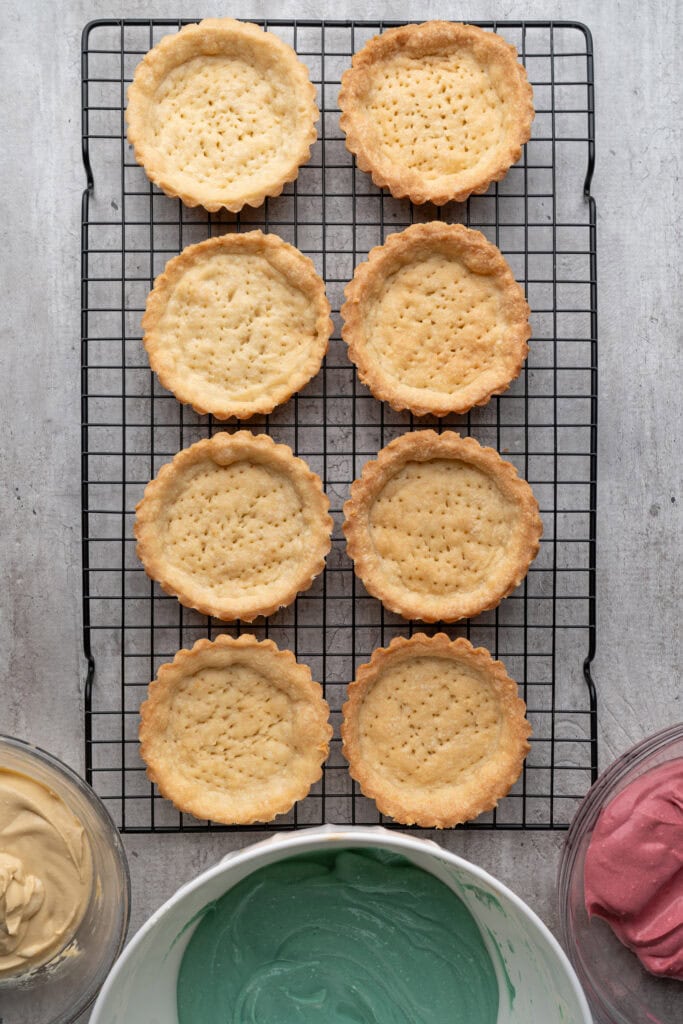
6. Line each shell with parchment and fill with baking beans or rice to blind-bake. Prick the dough generously with a fork. Place the pans on a baking sheet and bake for about 30 minutes, until the crusts are lightly golden. Remove from the oven and allow to cool on a wire rack.
7. In a medium bowl, beat together the cream cheese, lemon juice, and powdered sugar until smooth and creamy.
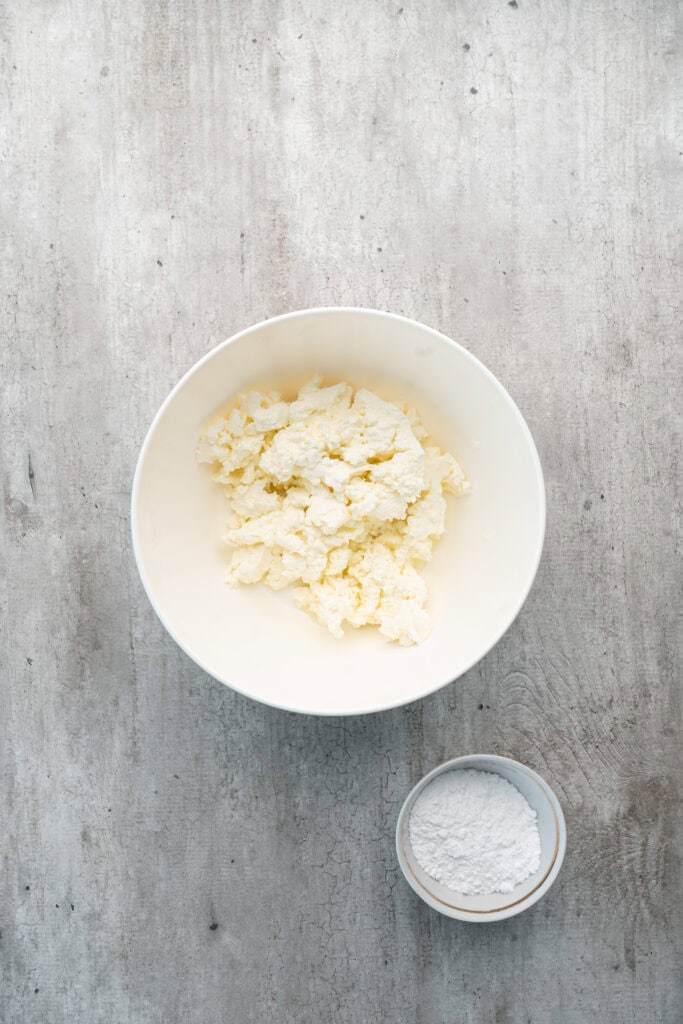
8. In a separate bowl, whip the heavy cream with the vanilla extract until soft peaks form. Gently fold the whipped cream into the cream cheese mixture until fully incorporated.
9. Divide the filling into two (or more) bowls and add a drop of gel food colouring to each to create pastel shades. Mix until uniformly coloured.
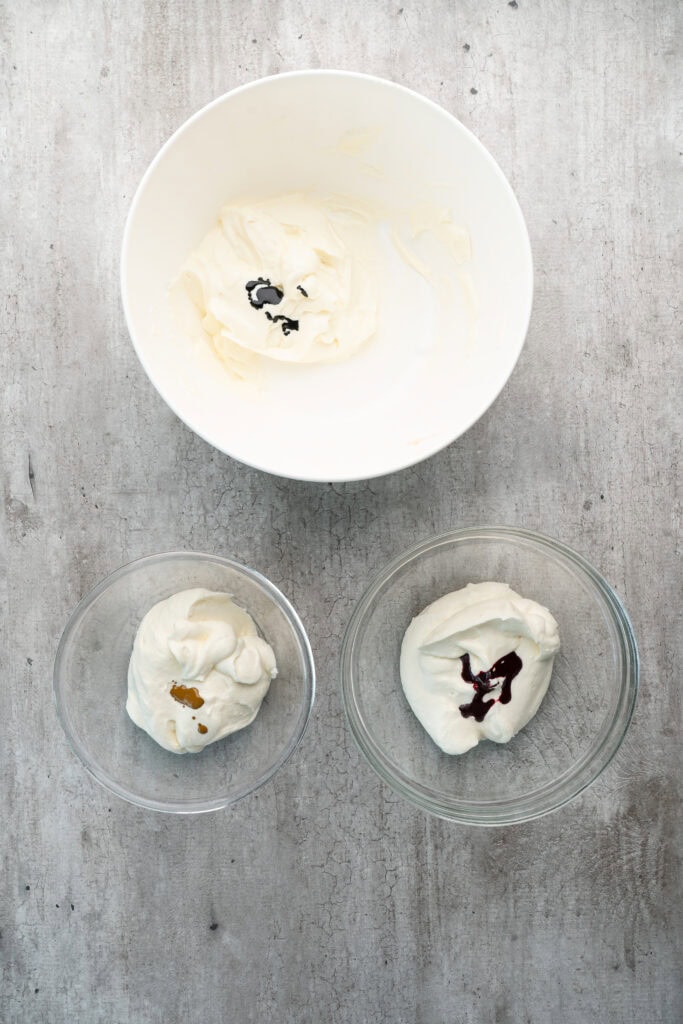
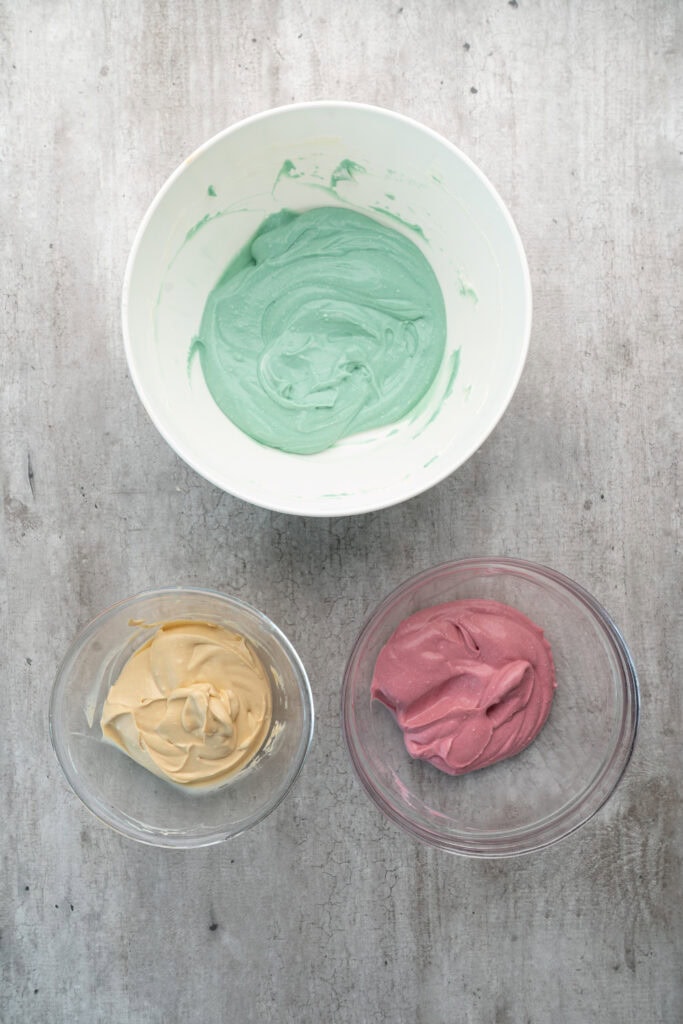
10. Once the tart shells are completely cooled, spoon or pipe the coloured cheesecake filling into each shell, filling almost to the top.
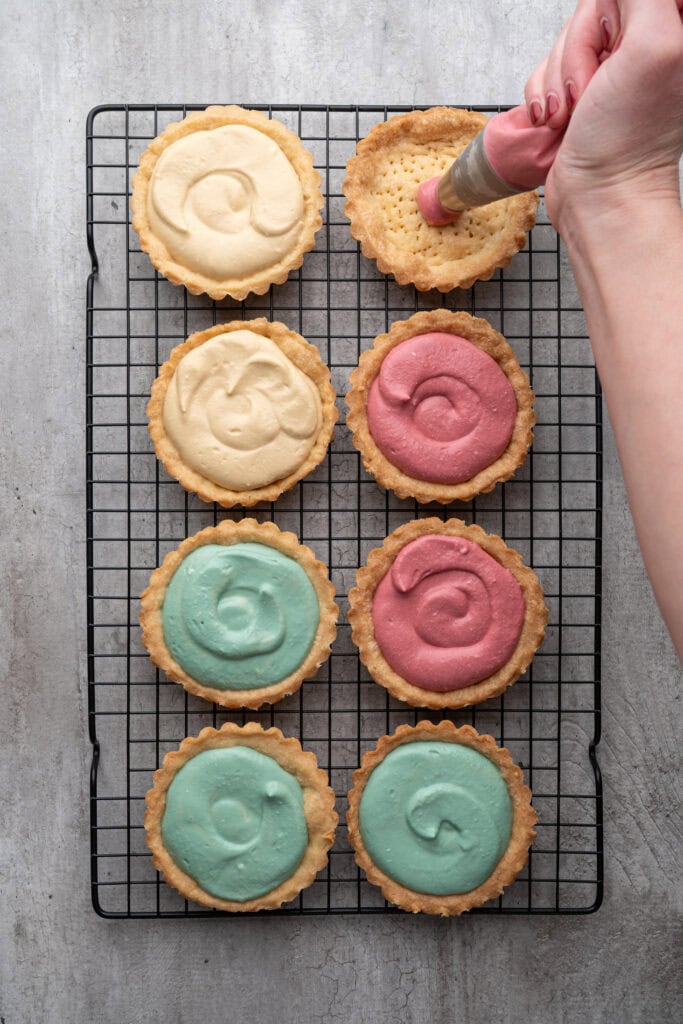
11. Refrigerate the filled tarts for at least 2 hours to firm up and let the flavors meld.
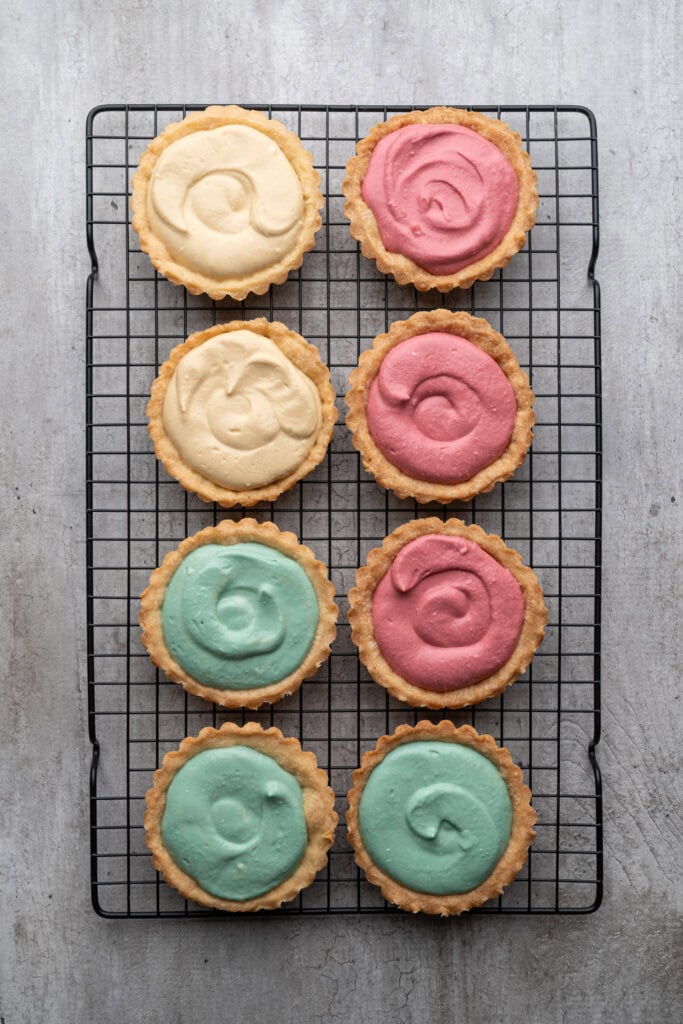
12. Just before serving, top each tart with a few mini chocolate eggs or edible flowers for a cheerful Easter touch.
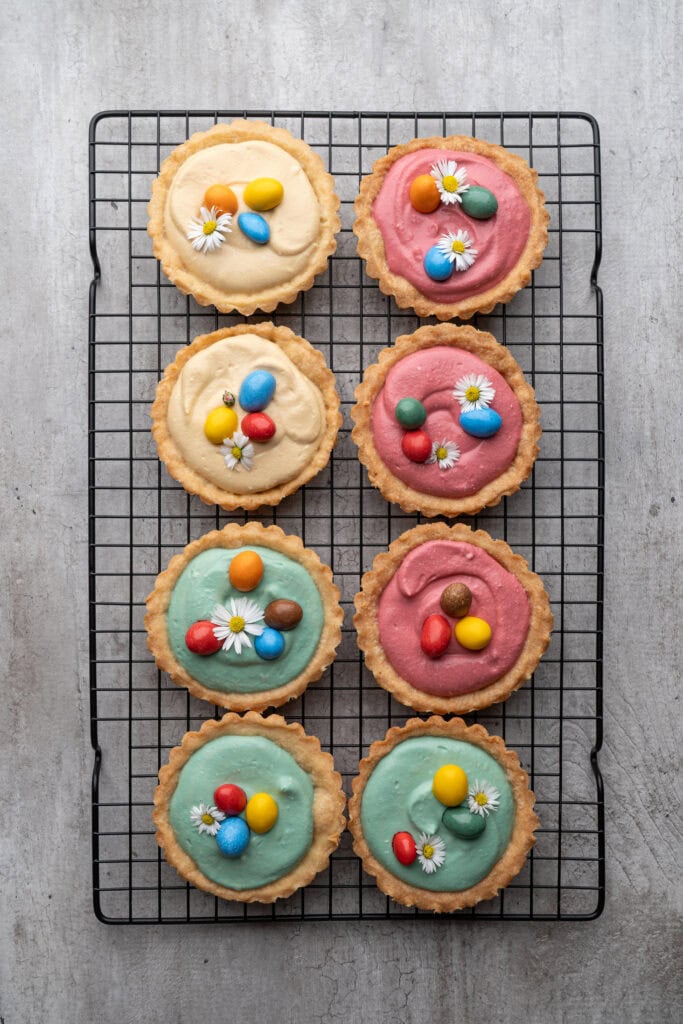
Serve & Enjoy!
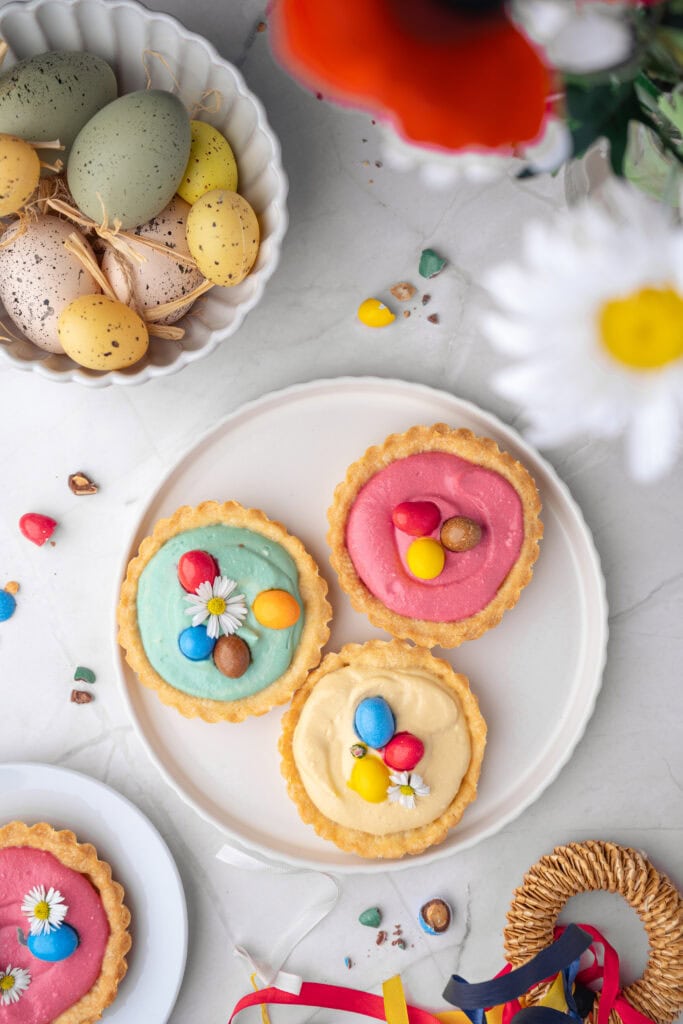
Important Recipe Notes
- Chill the dough: Don’t skip the 2-hour chilling time. Cold dough is easier to roll and helps the tart shells keep their shape while baking.
- Don’t overmix the pastry: Add the flour gradually and mix just until the dough comes together. Overmixing can make the shells tough.
- Prick the bottom of each tart shell with a fork before baking to help prevent the pastry from puffing up.
- Let the tart shells cool completely before adding the cheesecake filling. Warm shells can soften the filling.
- Soften the cream cheese: Room-temperature cream cheese will give you a smoother, lump-free filling.
- Fold the whipped cream into the cream cheese mixture gently to keep the filling light and creamy.
- Refrigerate the filled tarts for at least 2 hours so the cheesecake filling can firm up properly.
- Add toppings just before serving: Add the mini chocolate eggs or edible flowers right before serving for the freshest look.
Mini Springtime Cheesecake Tarts
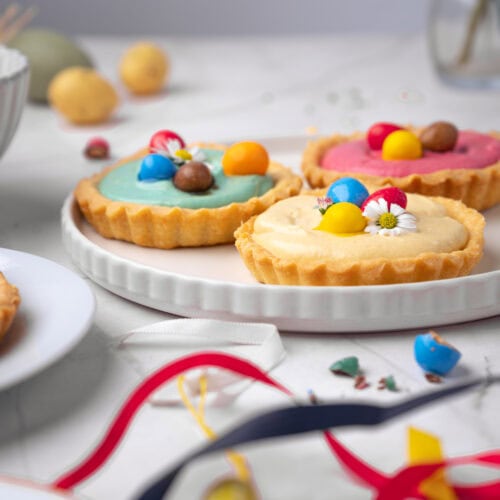
Ingredients
For the sweet short pastry shell
- 4 cups 500 g pastry flour, plus extra for dusting
- 1 ⅔ cups 375 g unsalted butter, at room temperature
- 1 teaspoon 5 mL salt
- 1 large egg yolk
- 2 teaspoons 10 mL sugar
- 7 tablespoons 105 mL whole milk, room temperature
For the cheesecake-style filling
- 12 oz 340 g cream cheese, softened at room temperature
- 4 teaspoons 20 mL fresh lemon juice
- ½ cup 50 g powdered sugar
- ½ cup ≈120 mL heavy cream
- 1 teaspoon vanilla extract
- 1 drop gel food colouring of your choice
- Optional: small Easter chocolate eggs or edible flowers to garnish
Instructions
- In a large mixing bowl (or food processor), combine the softened butter, salt, egg yolk, sugar, and milk. Mix until smooth and creamy.
- Sift the flour and gradually add it into the butter-mixture, mixing just until the dough begins to come together in a ball. (If using a food processor: pulse until the dough just forms a ball.)
- Turn the dough out onto a lightly floured surface and gently knead for a minute or two until it’s uniform. Flatten into a disk, wrap tightly in plastic wrap, and chill in the fridge for at least 2 hours.
- Preheat your oven to 350 °F / 180 °C. Generously butter eight 4-inch tart pans.
- On a lightly floured surface, roll the dough out (ideally between two sheets of parchment) to about ¼-inch (≈6 mm) thickness. Cut circles slightly larger than the tart pan rims and gently press the dough into each pan, trimming off any excess.
- Line each shell with parchment and fill with baking beans or rice to blind-bake. Prick the dough generously with a fork. Place the pans on a baking sheet and bake for about 30 minutes, until the crusts are lightly golden. Remove from the oven and allow to cool on a wire rack.
- In a medium bowl, beat together the cream cheese, lemon juice, and powdered sugar until smooth and creamy.
- In a separate bowl, whip the heavy cream with the vanilla extract until soft peaks form. Gently fold the whipped cream into the cream cheese mixture until fully incorporated.
- Divide the filling into two (or more) bowls and add a drop of gel food colouring to each to create pastel shades. Mix until uniformly coloured.
- Once the tart shells are completely cooled, spoon or pipe the coloured cheesecake filling into each shell, filling almost to the top.
- Refrigerate the filled tarts for at least 2 hours to firm up and let the flavors meld.
- Just before serving, top each tart with a few mini chocolate eggs or edible flowers for a cheerful Easter touch.
Check Out More Spring-Themed Recipe Ideas!
Mini Easter Egg White Chocolate Fudge