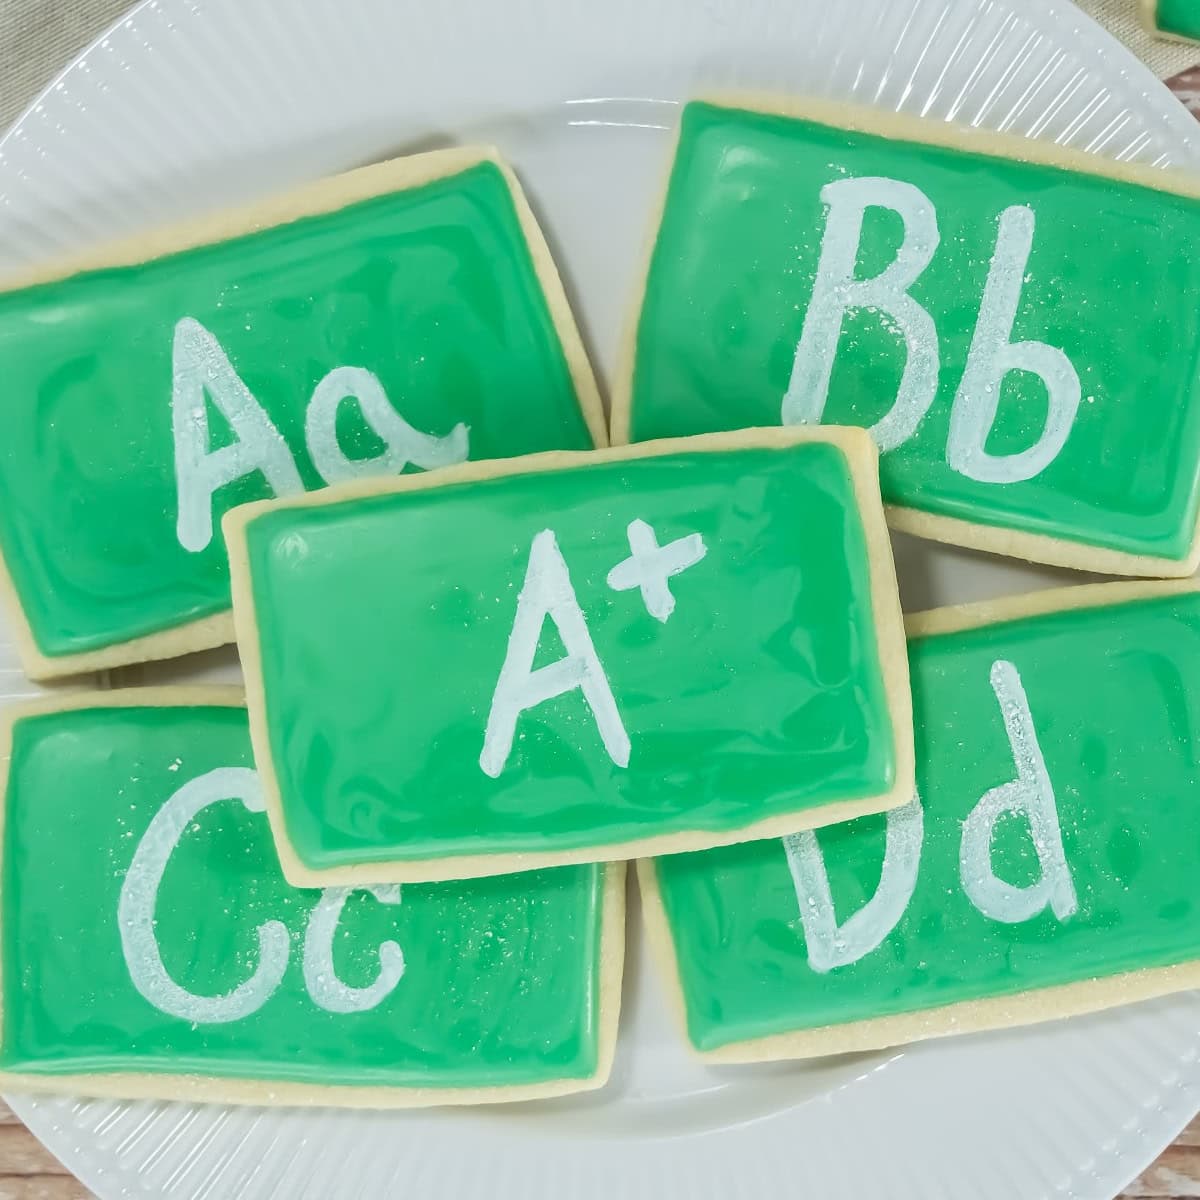
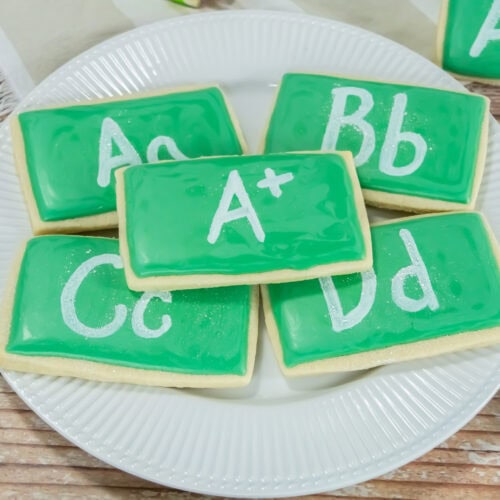
Back-to-School Chalkboard Cookies
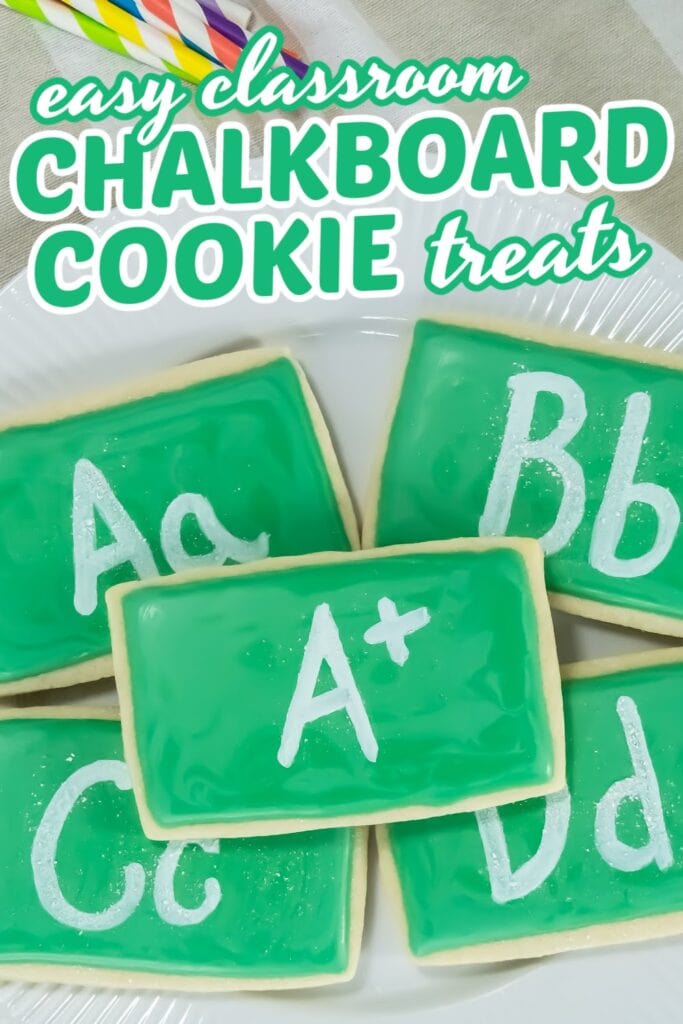
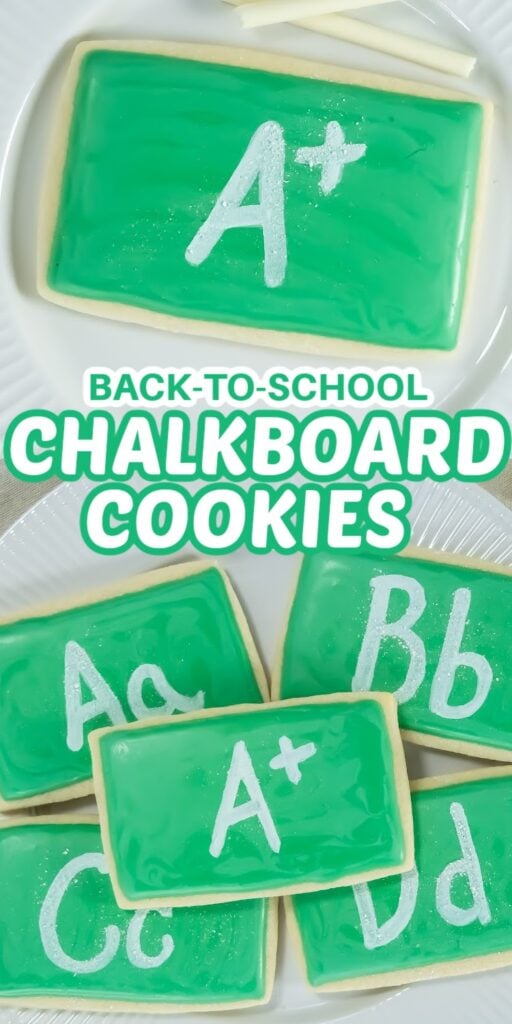
These Chalkboard Cookies are an easy back-to-school treat. They have a buttery, soft sugar cookie base with a smooth vanilla icing. They’re also great as an afternoon baking project with kids, packed in a lunchbox, or served at a classroom party.
WANT TO SAVE THIS FOR LATER?
If you’re packing this with a lunchbox, pair them with my Corndog Mini Muffins or Soft and Salty Homemade Pretzel Dogs—they make the great sweet and savory combo that’ll keep your kids happy and full!
How to Make Chalkboard Cookies
Ingredients you’ll need for the cookies
Ingredients you’ll need for the icing

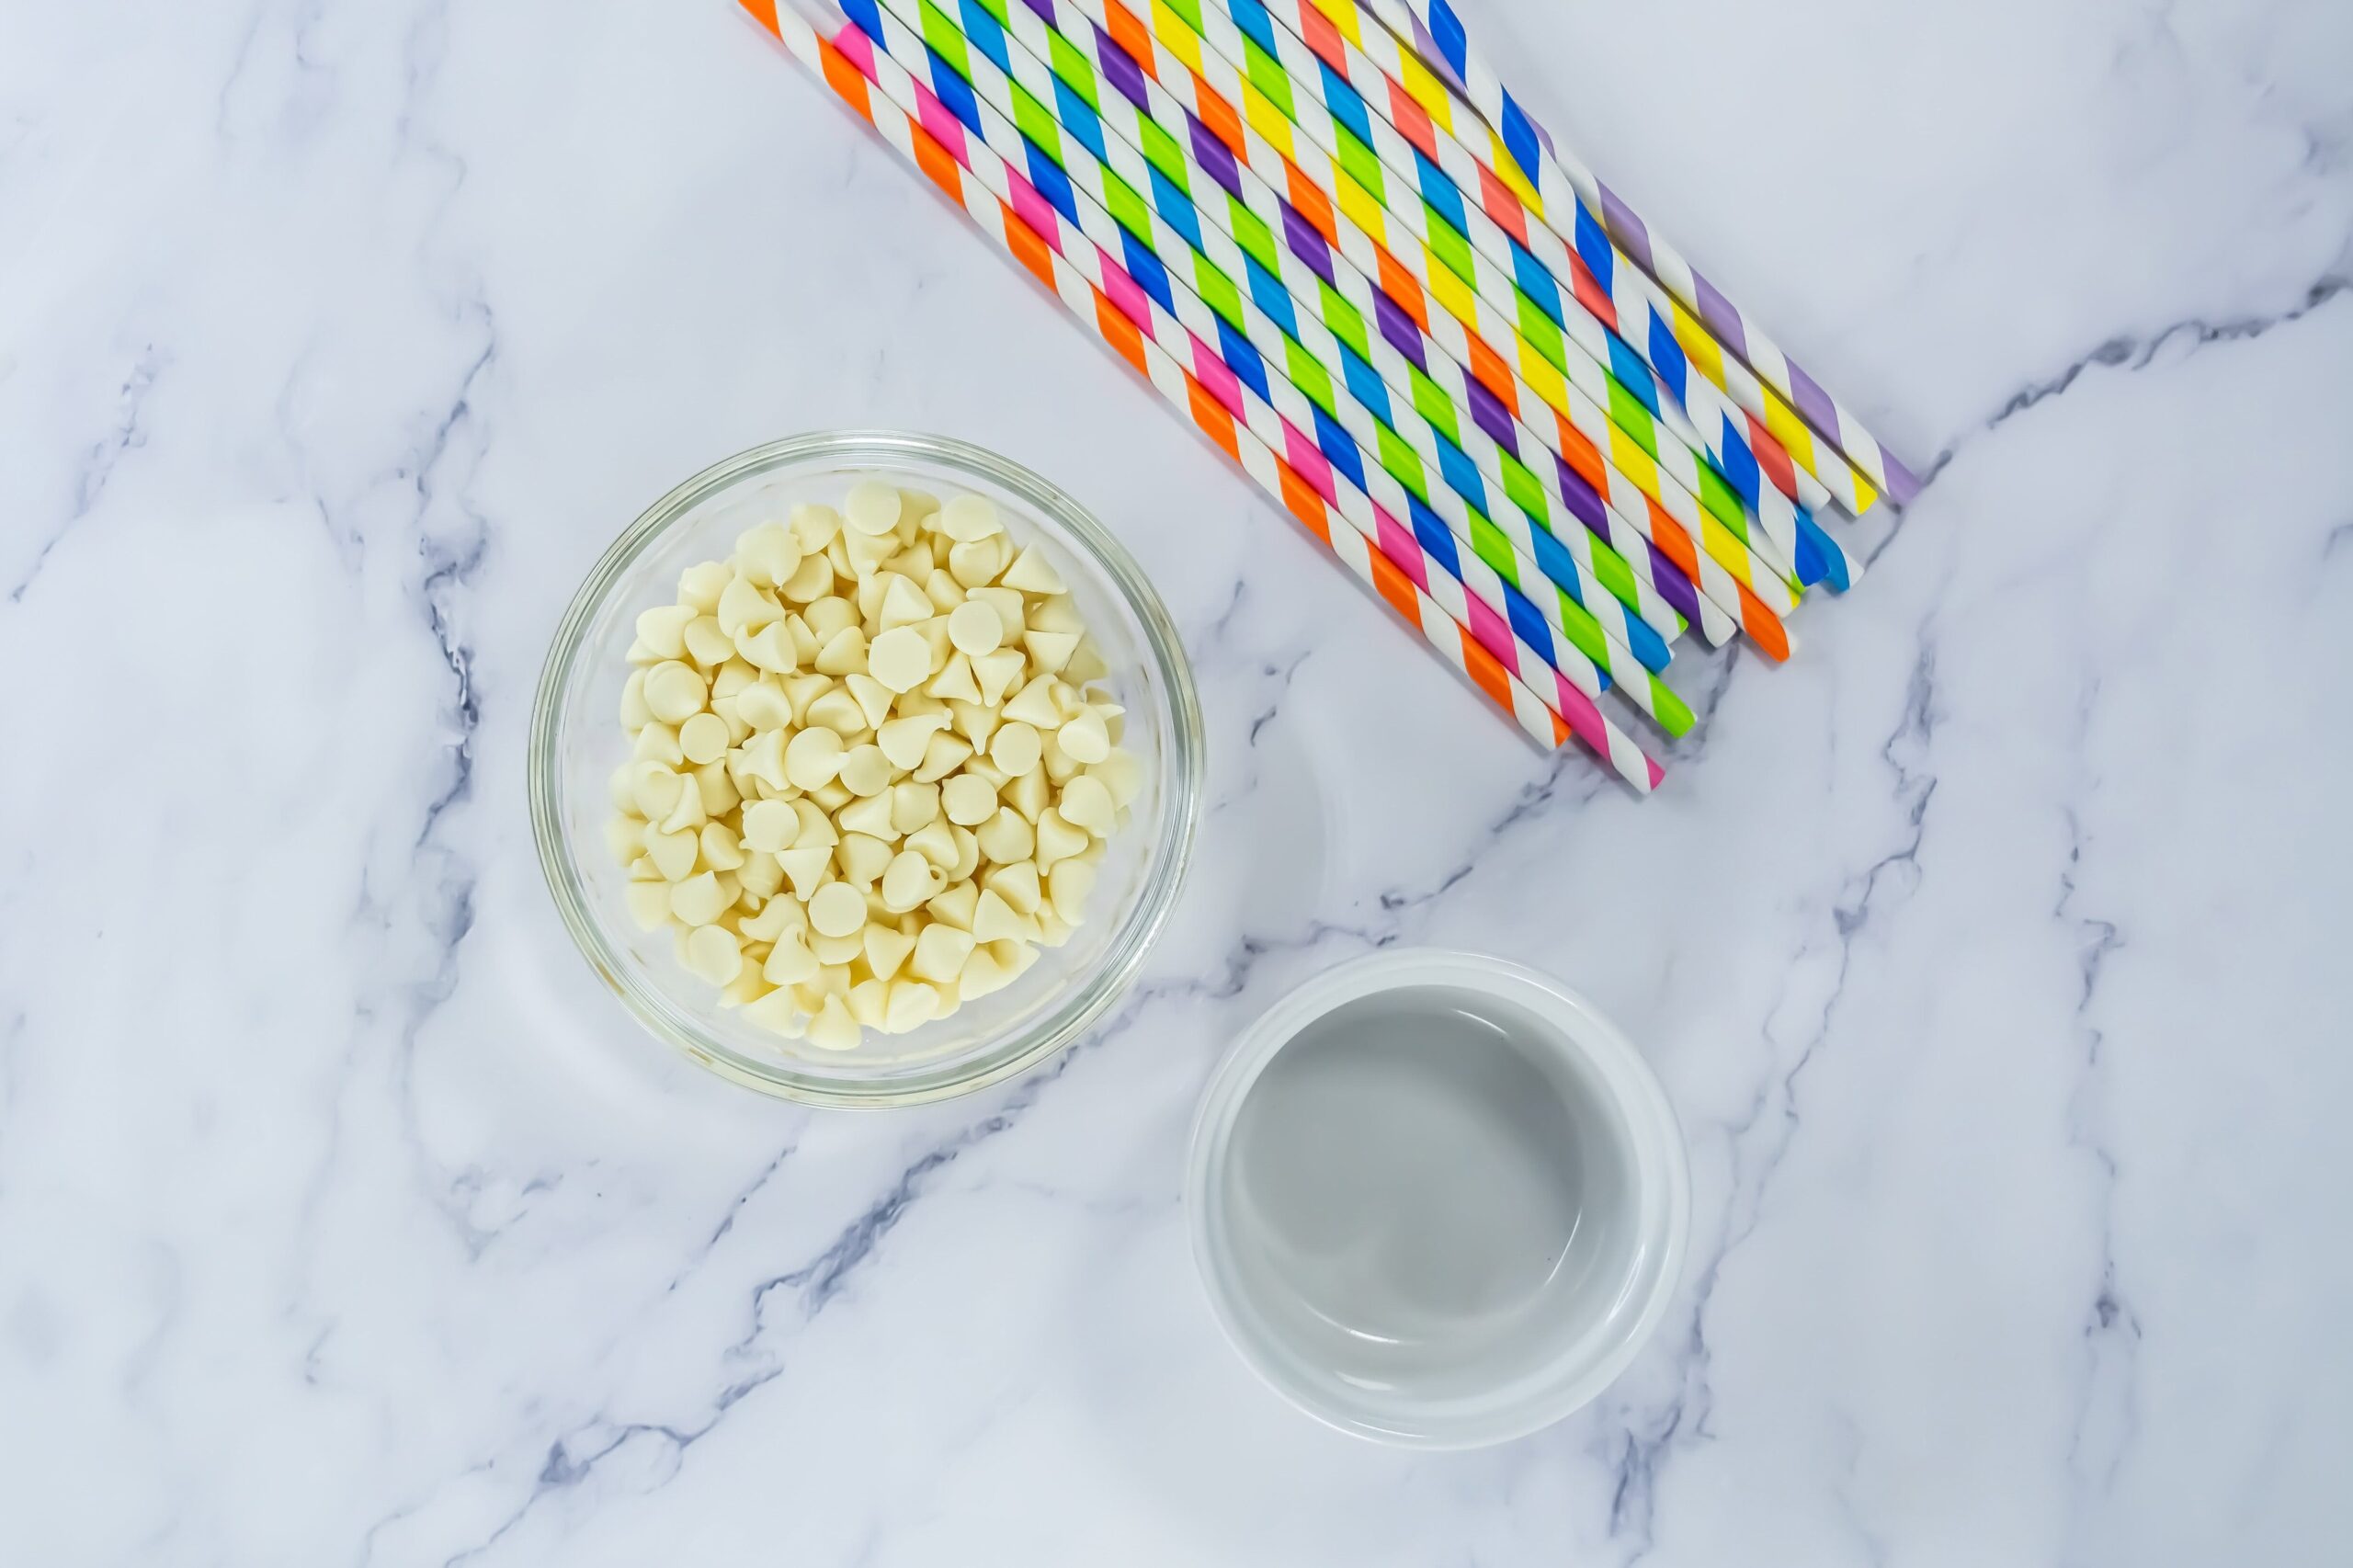
Ingredients you’ll need to decorate
Step by Step Guide
1. Start by creaming your butter and sugar until it’s nice and smooth.

2. Then add in the egg and vanilla, followed by the flour. It’ll start coming together as a soft dough that’s perfect for rolling.


3. Roll it out to about ⅝ inch thickness, then use a rectangular cookie cutter to shape each one.


4. Bake them at 350°F for about 11–12 minutes—just until the edges are lightly golden.
5. Let them cool completely before moving on to the decorating.

6. For the Icing – In one bowl of your stand mixer, combine 2 cups of powdered sugar, 1 teaspoon of vanilla, and 2 tablespoons of meringue powder.


7. Add about ¼ cup of water, then mix using the paddle attachment for 2–3 minutes until everything is smooth and fully combined.


8. In a separate bowl, mix the remaining 2 cups of powdered sugar with 1 teaspoon of vanilla, 2 tablespoons of corn syrup, and about ¼ cup of water.

9. Once both parts are ready, combine them in one bowl and mix with the whisk attachment until smooth.
10. Scrape down the sides a few times to make sure everything is blended well. If the icing feels too thick, add water a tablespoon at a time until you reach your desired consistency.
11. Add a few drops of green food coloring and mix again until evenly tinted, scraping the sides and bottom one last time.

12. Transfer the icing to a piping bag and, when you’re ready to decorate, snip a small opening at the tip.
13. Pipe a border around each cookie, then fill in the center. Use a toothpick to gently spread the icing if needed.

14. Let the cookies sit for 12 to 26 hours so the icing can fully set and harden before decorating with chalk.
15. For the White Chocolate chalk – Melt the white chocolate in a microwave-safe bowl and transfer it to a piping bag. Let it cool slightly so it’s easier to handle.

16. Cut a few straws into 3-inch sections and stand them upright in a small bowl, securing them with a rubber band to keep them steady.

17. Cut a small hole at the end of your piping bag and pipe the melted chocolate into each straw. Let them cool and harden completely.
18. Once set, carefully remove the chocolate from the straws. If you’re using paper straws, gently unwrap them. For plastic, you can cut them open.
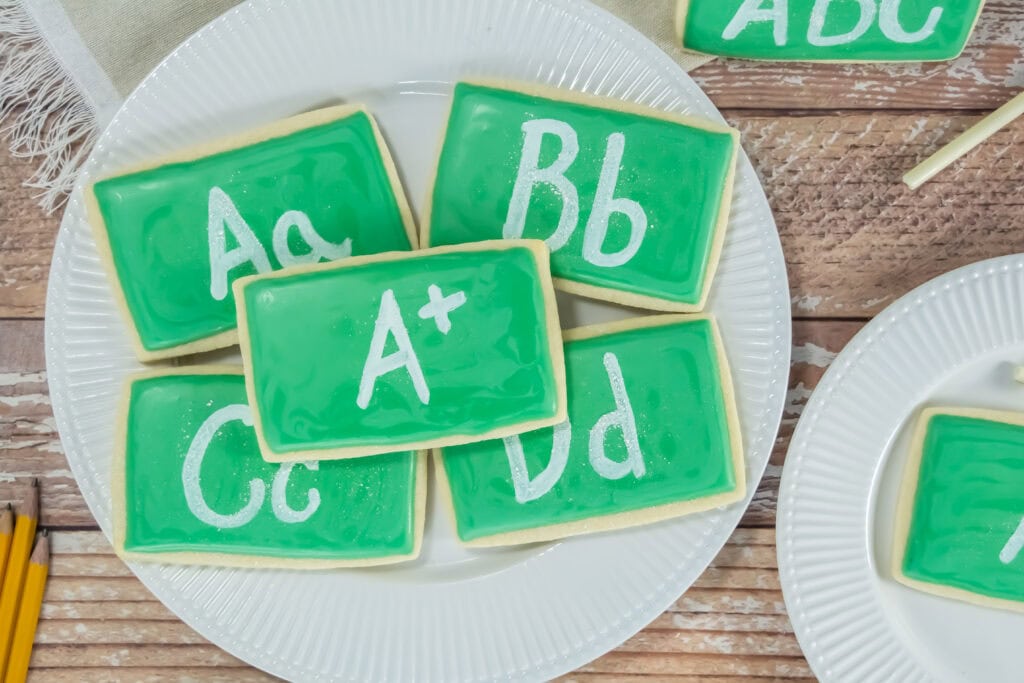
19. To “write” on the cookies, gently use the white chocolate chalk to draw or add messages. It might crumble a little, but it looks just like real chalk dust!

20. Be careful not to press too hard so you don’t crack the chalk or dent the icing. Lighter strokes and multiple passes work best to build up that classic chalkboard look.

Serve and Enjoy!

Important Recipe Notes
- Give the decorated cookies at least 12 hours (overnight is ideal) for the icing to set completely before adding the white chocolate chalk writing. If the surface is still soft, the chalk may dent or smudge it.
- The white chocolate chalk is delicate—use light strokes and take your time. Pressing too hard can cause it to break or dig into the icing.
- If the icing feels too thick to pipe or spread smoothly, just add water a tablespoon at a time until you reach a nice flowy consistency for flooding.
- After piping, use a toothpick to smooth icing
- Reuse cookie dough scraps, just re-roll and cut again to make the most of your batch.
- These cookies can be made a day or two in advance. Once the icing has fully hardened, store them in an airtight container and they’ll stay fresh for up to a week.
Back-to-School Chalkboard Cookies
Ingredients
For the Cookies
- 1 cup sugar
- 1 cup unsalted butter , softened
- 1 egg
- 1 tsp vanilla
- 3 cups flour
For the Icing
- 4 cups powdered sugar , divided
- 2 tbsp meringue powder
- 2 tsp vanilla , divided
- ½–¾ cup water , divided
- 2 tbsp corn syrup
- Green food coloring
To decorate
- ¼ cup white chocolate
- A few straws (paper or plastic) – for your edible chalk
- A rectangular cookie cutter
Instructions
For the Cookies
- Start by creaming your butter and sugar until it’s nice and smooth.
- Then add in the egg and vanilla, followed by the flour. It’ll start coming together as a soft dough that’s perfect for rolling.
- Roll it out to about ⅝ inch thickness, then use a rectangular cookie cutter to shape each one.
- Bake them at 350°F for about 11–12 minutes—just until the edges are lightly golden.
- Let them cool completely before moving on to the decorating.
For the Icing
- In one bowl of your stand mixer, combine 2 cups of powdered sugar, 1 teaspoon of vanilla, and 2 tablespoons of meringue powder.
- Add about ¼ cup of water, then mix using the paddle attachment for 2–3 minutes until everything is smooth and fully combined.
- In a separate bowl, mix the remaining 2 cups of powdered sugar with 1 teaspoon of vanilla, 2 tablespoons of corn syrup, and about ¼ cup of water.
- Once both parts are ready, combine them in one bowl and mix with the whisk attachment until smooth.
- Scrape down the sides a few times to make sure everything is blended well. If the icing feels too thick, add water a tablespoon at a time until you reach your desired consistency.
- Add a few drops of green food coloring and mix again until evenly tinted, scraping the sides and bottom one last time.
- Transfer the icing to a piping bag and, when you're ready to decorate, snip a small opening at the tip.
- Pipe a border around each cookie, then fill in the center. Use a toothpick to gently spread the icing if needed.
- Let the cookies sit for 12 to 26 hours so the icing can fully set and harden before decorating with chalk.
For the White Chocolate Chalk
- Melt the white chocolate in a microwave-safe bowl and transfer it to a piping bag. Let it cool slightly so it’s easier to handle.
- Cut a few straws into 3-inch sections and stand them upright in a small bowl, securing them with a rubber band to keep them steady.
- Cut a small hole at the end of your piping bag and pipe the melted chocolate into each straw. Let them cool and harden completely.
- Once set, carefully remove the chocolate from the straws. If you're using paper straws, gently unwrap them. For plastic, you can cut them open.
To Decorate
- To “write” on the cookies, gently use the white chocolate chalk to draw or add messages. It might crumble a little, but it looks just like real chalk dust!
- Be careful not to press too hard so you don’t crack the chalk or dent the icing. Lighter strokes and multiple passes work best to build up that classic chalkboard look.
- Serve and Enjoy!
Check Out More Back-to-School Treat Recipe Ideas!
Back-to-School Apple Pretzel Treats