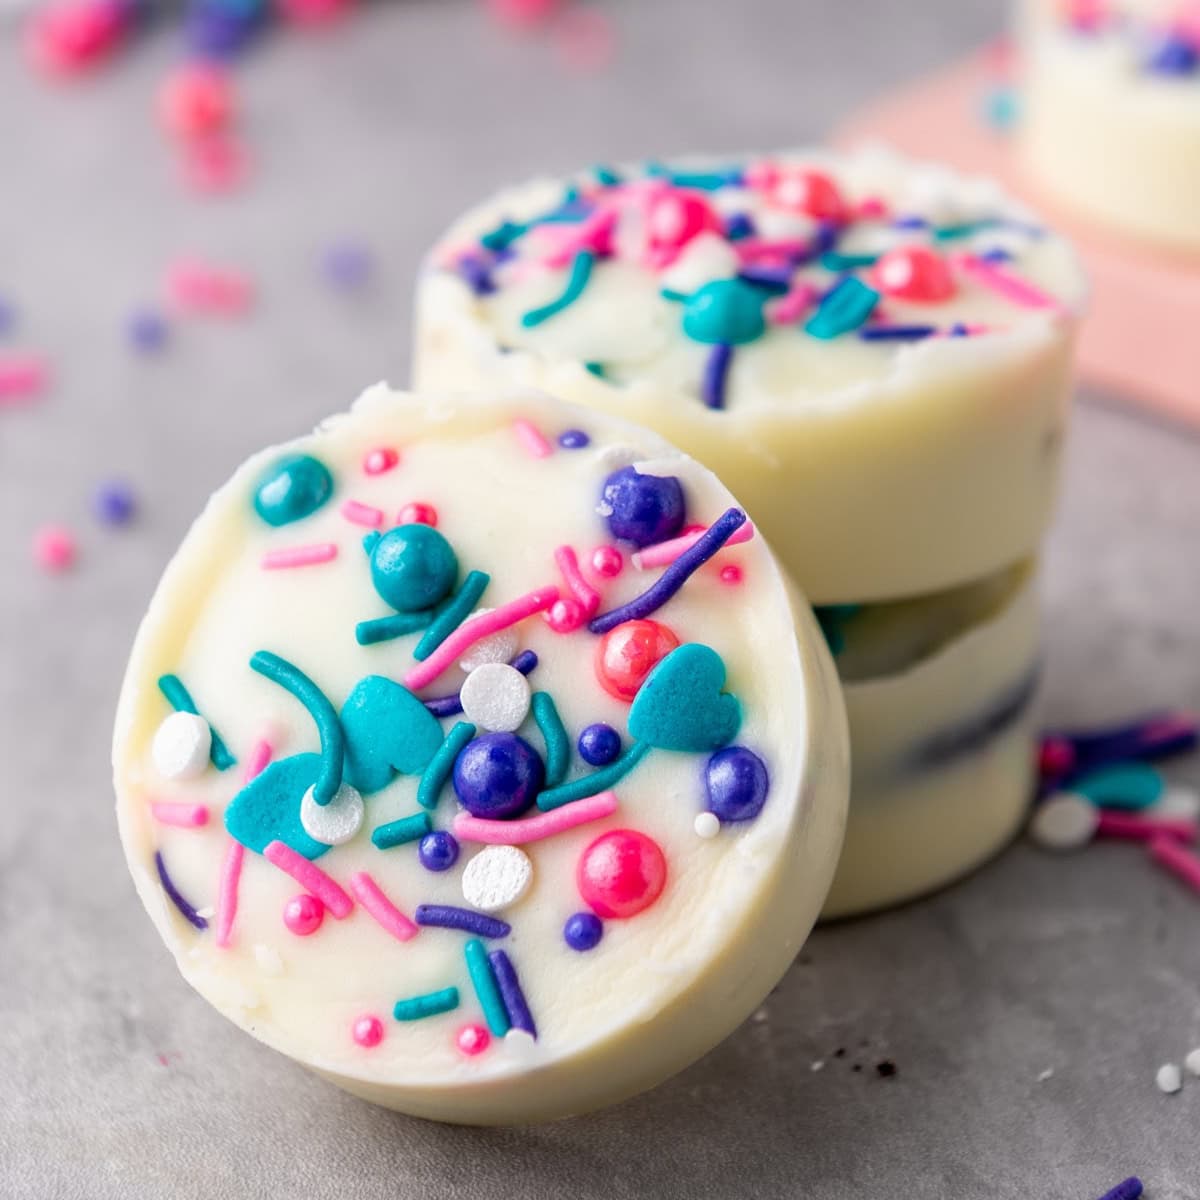
Red, White, and Blue Chocolate Bark


This Red, White, and Blue Chocolate Bark is one of those easy, patriotic dessert treats that’s perfect for celebrating Independence Day! With just a handful of ingredients and a few minutes of prep, you can make this no-bake sweet that’s perfect for 4th of July parties.

WANT TO SAVE THIS FOR LATER?
It’s a great way to get the kids involved, turning it into a fun summer kitchen activity that everyone will love! Also, it’s the perfect last-minute dessert because you can make it in no time. Take a platter of this bark to all of your Fourth of July picnics!
How to Make Red, White, and Blue Chocolate Bark
Ingredients you’ll need for this recipe

Step by Step Guide
1. Start by lining a 13×9-inch baking tray with parchment paper. This ensures your chocolate doesn’t stick and makes cleanup a breeze.

2. Now, grab your semi-sweet chocolate morsels. Melt them in the microwave, using 30-second bursts, stirring in between until smooth and creamy.
3. Once melted, pour it onto your prepared tray and spread it out into an even layer. Let this layer set completely (pop it in the fridge to speed up the process).

4. Next up, melt the white chocolate morsels in the same way. Once melted, carefully pour it over the semi-sweet chocolate layer. Give it time to set completely—patience is key here!

5. Melt your red, white, and blue candy melts separately. I love using small piping bags for this part, but a spoon works just as well!

6. Drizzle each color over the white chocolate layer in a random, fun pattern. Here’s where you get to be creative!


7. Grab a toothpick or skewer and gently swirl the colors together to create a marbled effect. Don’t rush this step! The marbling adds a beautiful touch, and it’s really satisfying to watch the colors blend.

8. While the candy melts are still soft, sprinkle the red, white, and blue star sprinkles and M&Ms over the top.

9. Now, let everything harden completely. You can leave it at room temperature or pop it in the fridge if you’re in a rush (but don’t rush the hardening process—it’s worth the wait!).

10. Once your chocolate bark has completely set, carefully lift it out of the tray using the edges of the parchment paper. Break it into chunks by hand—there’s something so satisfying about this part!

Serve and Enjoy!

And there you have it! Next time you need a dessert that’s easy to make, give this Red, White, and Blue Chocolate Bark a try. It’s the easiest patriotic treat to make for Independence Day!
Important Recipe Notes:
- Use Good-Quality Chocolate: Pick a good melting chocolate or high-quality white chocolate chips for the best flavor and smooth texture.
- Whether you use a microwave or double boiler, melt your chocolate slowly to avoid burning. Stir often for that perfectly silky finish.
- Work Quickly: Once the chocolate is melted and poured out, add your sprinkles, candies, or toppings right away before it starts to set.
- Always line your baking sheet with parchment paper or a silicone mat to make it super easy to lift and break the bark once it hardens.
- Chill to Set: Pop the bark into the fridge for about 20–30 minutes to help it firm up quickly.
- Store Properly: Keep your chocolate bark in an airtight container in a cool spot. If it’s too warm, it can get soft and melty!
Red, White, & Blue Chocolate Bark

Ingredients
- 2 cups white chocolate morsels
- 2 cups semi-sweet chocolate morsels
- 1/2 cup red candy melts
- 1/2 cup white candy melts
- 1/2 cup blue candy melts
- 1 tbsp red, white, and blue star sprinkles
- 1/4 cup red, white, and blue M&Ms
Instructions
- Start by lining a 13×9-inch baking tray with parchment paper. This ensures your chocolate doesn’t stick and makes cleanup a breeze.
- Now, grab your semi-sweet chocolate morsels. Melt them in the microwave, using 30-second bursts, stirring in between until smooth and creamy.
- Once melted, pour it onto your prepared tray and spread it out into an even layer. Let this layer set completely (pop it in the fridge to speed up the process).
- Next up, melt the white chocolate morsels in the same way. Once melted, carefully pour it over the semi-sweet chocolate layer. Give it time to set completely—patience is key here!
- Melt your red, white, and blue candy melts separately. I love using small piping bags for this part, but a spoon works just as well!
- Drizzle each color over the white chocolate layer in a random, fun pattern. Here’s where you get to be creative!
- Grab a toothpick or skewer and gently swirl the colors together to create a marbled effect. Don’t rush this step! The marbling adds a beautiful touch, and it’s really satisfying to watch the colors blend.
- While the candy melts are still soft, sprinkle the red, white, and blue star sprinkles and M&Ms over the top.
- Now, let everything harden completely. You can leave it at room temperature or pop it in the fridge if you’re in a rush (but don’t rush the hardening process—it’s worth the wait!).
- Once your chocolate bark has completely set, carefully lift it out of the tray using the edges of the parchment paper. Break it into chunks by hand—there’s something so satisfying about this part!