Red Velvet Ladybug Truffles
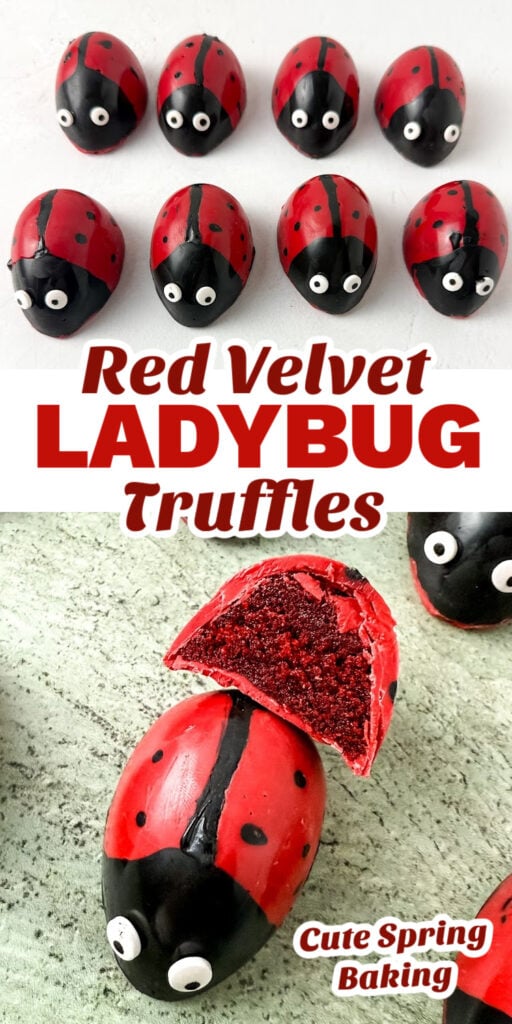
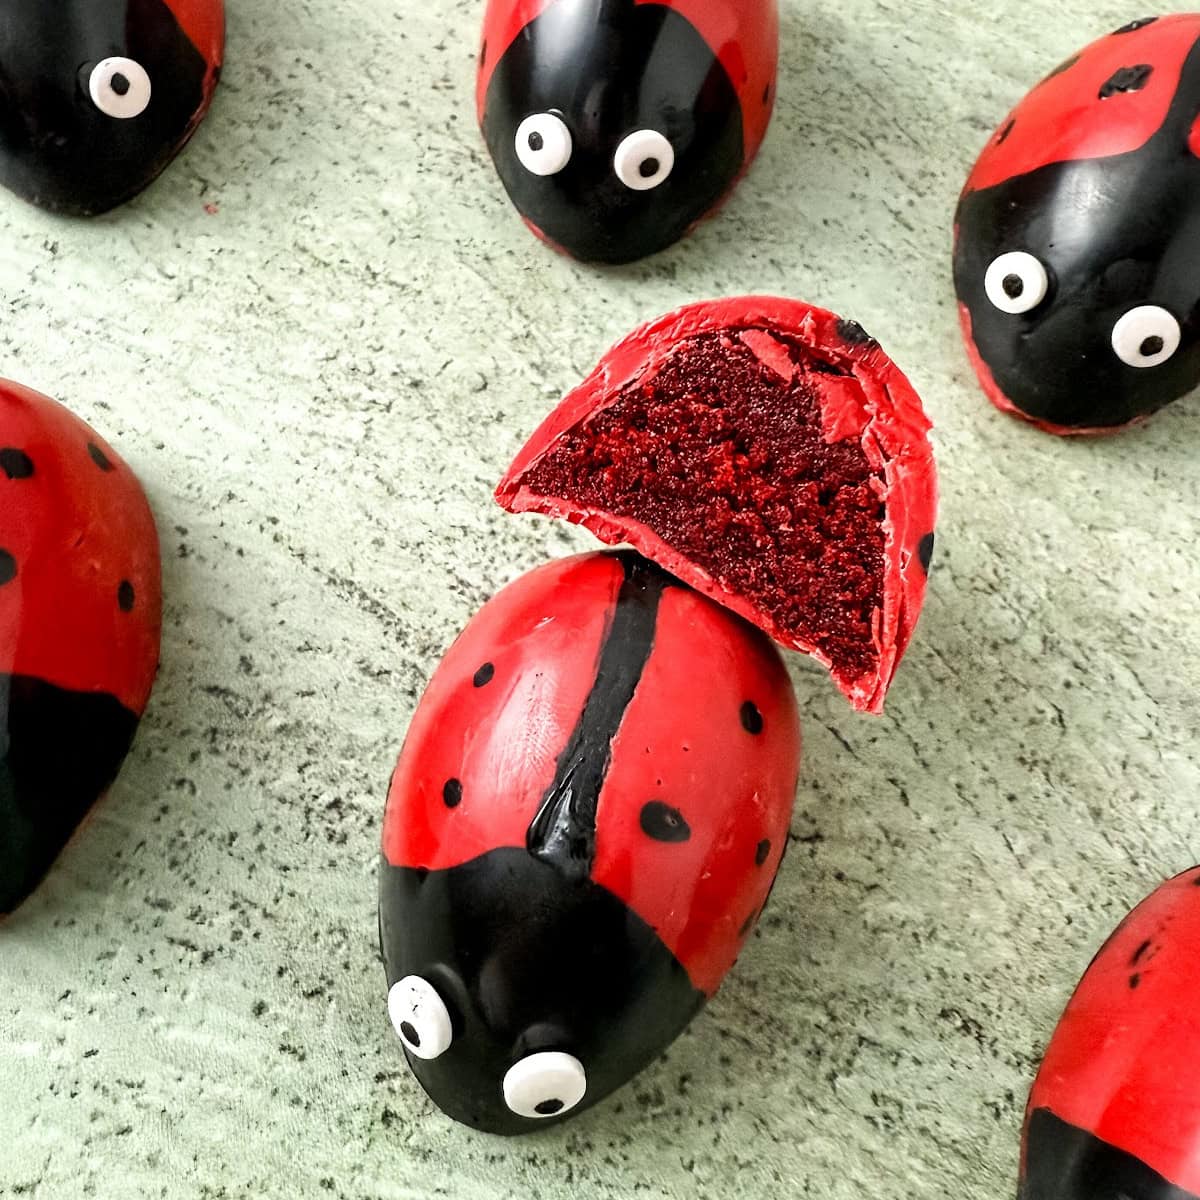
These Red Velvet Ladybug Truffles are a fun no-bake finger food dessert, made with store-bought red velvet cupcakes and candy melts, then shaped into ladybugs. They’re ideal for a party, spring picnic, or baking activity with kids.

WANT TO SAVE THIS FOR LATER?
If you have leftover red velvet cupcakes or any homemade cake, this recipe works just as well. The kids can help with most of the steps, especially decorating the faces.
I love serving these Red Velvet Lady Bug Truffles with my Classic Tuna Tea Sandwiches and Caterpillar Fruit Kabobs. They’re great for a tea party.
How to Make Red Velvet Ladybug Truffles
Ingredients you’ll need for this recipe

Step by Step Guide
1. Melt the black melting chocolate in a microwave-safe bowl, 30 seconds at a time, until smooth. Pour it into a piping bag and snip a tiny tip.

2. Pipe a small D shape at one end of each oval in your mold for the face. Then pipe a straight line down the middle and add dots on each side to make the lady bug spots.


3. Melt the red melting chocolate the same way. Spoon it into the mold over the black designs, making sure everything is fully covered. Freeze for 10 minutes.


4. Spoon a little more red chocolate into the mold to reinforce the sides. Freeze for another 8 minutes.

5. In a mixing bowl, crumble your red velvet cupcakes. If they’re dry, mix in a bit of buttercream until it forms a dough-like texture.


6. Take your chilled molds out of the freezer. Scoop or roll small amounts of the cake mixture and gently press them into each oval without overflowing.

7. Use the rest of your red or black melted chocolate to seal the backs of the truffles. Freeze again for 10 minutes.

8. Pop the truffles out of the mold. Pipe two tiny dots on each face and stick on the candy eyes. Let them dry.


Serve and Enjoy!
Once dry, they’re ready to enjoy!

Important Recipe Notes
- If your red velvet cupcakes are soft and moist, you might not need buttercream at all. Just mix until the crumbs stick together like dough. If they’re dry or crumbly, add a spoonful of frosting at a time until it holds.
- Follow the chilling steps – Freezing the chocolate shells in between steps helps everything hold its shape. If you skip it, the shells might crack or melt when filling.
- Work quickly, candy melts set fast, so it’s best to have everything ready before you start. Reheat the chocolate as needed in short bursts (10–15 seconds) to keep it smooth.
- Use a gentle hand when removing from mold – To pop the truffles out cleanly, press gently from the back and wiggle if needed. If they’re sticking, freeze them a few more minutes.
- These are best eaten within a few days. Store in an airtight container in a cool spot for up to 3 days, or in the fridge for up to 5.
Red Velvet Ladybug Truffles

Ingredients
- 6 Red Velvet Cupcakes store-bought or homemade
- 8 oz Red Melting Chocolate
- 3 oz Black Melting Chocolate
- 2 –3 Tbsp Buttercream Frosting
- Candy Eye Sprinkles
Instructions
- Melt the black melting chocolate in a microwave-safe bowl, 30 seconds at a time, until smooth. Pour it into a piping bag and snip a tiny tip.
- Pipe a small D shape at one end of each oval in your mold for the face. Then pipe a straight line down the middle and add dots on each side to make the lady bug spots.
- Melt the red melting chocolate the same way. Spoon it into the mold over the black designs, making sure everything is fully covered. Freeze for 10 minutes.
- Spoon a little more red chocolate into the mold to reinforce the sides. Freeze for another 8 minutes.
- In a mixing bowl, crumble your red velvet cupcakes. If they’re dry, mix in a bit of buttercream until it forms a dough-like texture.
- Take your chilled molds out of the freezer. Scoop or roll small amounts of the cake mixture and gently press them into each oval without overflowing.
- Use the rest of your red or black melted chocolate to seal the backs of the truffles. Freeze again for 10 minutes.
- Pop the truffles out of the mold. Pipe two tiny dots on each face and stick on the candy eyes. Let them dry.
- Once dry, they’re ready to enjoy!