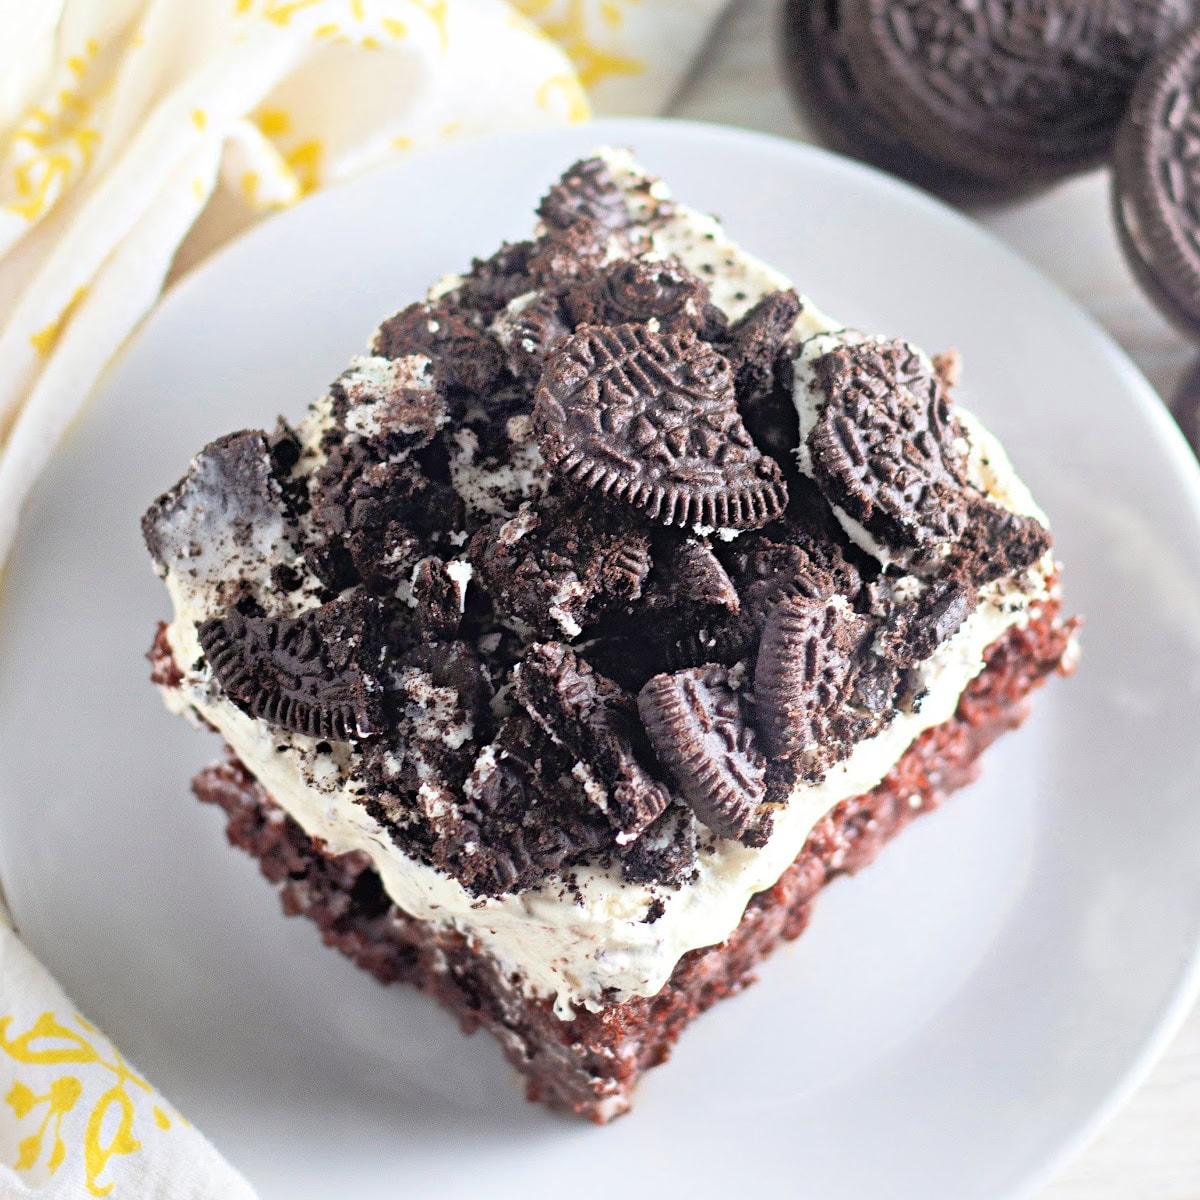
Creamy, Dreamy Milk and Oreo Poke Cake
This Milk and Oreo Poke Cake is one of those easy desserts that even the pickiest eaters will love. It’s soft, rich, and loaded with cookies-and-cream goodness.

WANT TO SAVE THIS FOR LATER?
You can even make it ahead and keep it in the fridge until you’re ready to serve. It is perfect for birthdays or potlucks, and I love serving them with strawberry desserts or blueberry desserts.
How to Make Milk and Oreo Poke Cake
Ingredients you’ll need for this recipe

Step-by-Step Guide
1. Preheat your oven according to the cake mix box. Grease a 9×13-inch baking dish, pour in your prepared batter, and bake it up just like the directions say.
2. Once your cake is out of the oven, grab the handle of a wooden spoon and poke holes all over the top—about an inch apart.

3. Whisk together the heavy cream and sweetened condensed milk. Slowly pour it all over the warm cake, making sure it seeps down into those little holes.

4. Set your cake aside to cool to room temp.
5. Once cooled, spread the whipped topping over the entire cake.


6. Put your Oreos in a zip-top bag and give them a gentle crush with a rolling pin. You want chunks, not crumbs! Sprinkle them generously over the top of your cake.


Serve and Enjoy!
You can serve it right away or pop it in the fridge until you’re ready. Either way, it’s a guaranteed crowd-pleaser.

Important Recipe Notes:
- You can use either chocolate cake or Devil’s food cake mix for this recipe. Both work perfectly, so choose whichever you prefer or have on hand.
- Be sure to poke the holes gently with the end of a wooden spoon—about 1-inch apart. This allows the milk mixture to seep into the cake and keep it moist.
- When crushing the Oreos, aim for a mix of small crumbs and bigger chunks. This gives the cake a nice texture when you sprinkle them on top.
- This cake can be made ahead of time! Just let the cake cool completely before adding the whipped topping and Oreos. It also refrigerates well, so you can keep it in the fridge for up to 2 days before serving.
- Serving Tip: While the cake can be served immediately after adding the whipped topping and Oreos, it’s best chilled for a couple of hours to let the flavors blend and the cake set.
- If you want to make it even richer, try swapping out the heavy cream for half-and-half or adding a little bit of chocolate syrup to the milk mixture before pouring it over the cake.
Milk and Oreo Poke Cake

Ingredients
- 1 box (13-16 ounces) chocolate or Devil’s food cake mix, batter prepared according to box directions (will likely need eggs, oil, and water)
- 1 ½ cups heavy cream
- 1 can (14 ounces) sweetened condensed milk
- 1 tub (8 ounces) whipped topping, thawed
- 10 Oreo cookies
Instructions
- Preheat your oven according to the cake mix box. Grease a 9×13-inch baking dish, pour in your prepared batter, and bake it up just like the directions say.
- Once your cake is out of the oven, grab the handle of a wooden spoon and poke holes all over the top—about an inch apart.
- Whisk together the heavy cream and sweetened condensed milk. Slowly pour it all over the warm cake, making sure it seeps down into those little holes.
- Set your cake aside to cool to room temp.
- Once cooled, spread the whipped topping over the entire cake.
- Put your Oreos in a zip-top bag and give them a gentle crush with a rolling pin. You want chunks, not crumbs! Sprinkle them generously over the top of your cake.
- You can serve it right away or pop it in the fridge until you’re ready. Either way, it’s a guaranteed crowd-pleaser.